When you purchase a new Windows computer, it comes with Microsoft OneDrive installed. Microsoft offers 5 GB of free cloud storage per user, the storage includes OneDrive files & photos, and Outlook.com pictures & attachments, you also get 15 GB of free Outlook.com email storage which is separate from your Microsoft cloud storage. If you have a Microsoft 365 subscription you can purchase additional storage.
Here are some tips for working with OneDrive.
How to Enable Local File Storage
By default, OneDrive wants to store your files in the cloud. This allows you to access your files from any device and acts as a backup location, but you can also save copies of your files to your computer’s hard drive. Having a local copy of your files ensures that you always have access to them even if you don’t have an internet connection.
To ensure that all of your files are stored locally, open File Explorer and right-click the OneDrive folder in the left sidebar and select “Always keep on this device.” This option creates a local copy of your OneDrive files, when OneDrive syncs, your files will reside locally and in OneDrive.
To Specify Which Folders OneDrive Syncs
You can choose which folders on your computer sync with OneDrive.
- Click the OneDrive icon in the taskbar notification area.
- Select Help & Settings > Settings.
- Select the Account tab.
- Select Choose folders.
- In the Choose folders dialog box, check any folders you want to sync. (unchecked folders will not sync) then click OK.
Understanding Sync Status

When you sync files and folders the sync status is denoted with small icons next to the files and folders.
A cloud: A blue cloud icon indicates the file is only available online and is not saved locally.
A green checkmark on a white circle: This file or folder is in the cloud and also saved on your local hard drive. With Storage Sense turned on, the files downloaded to your device will become online-only files after the time period you’ve chosen.
A white checkmark on a green circle: This file or folder has been designated as Always keep on this device, Windows will not automatically revert it to cloud-only if you haven’t used it after a period of time.
Animated arrows: When a file or folder is in the process of syncing to the cloud, the icon by its name will have two arrows animating in a circular motion.
To view recent activity, click the OneDrive icon in the system tray.
Using Folder Backup

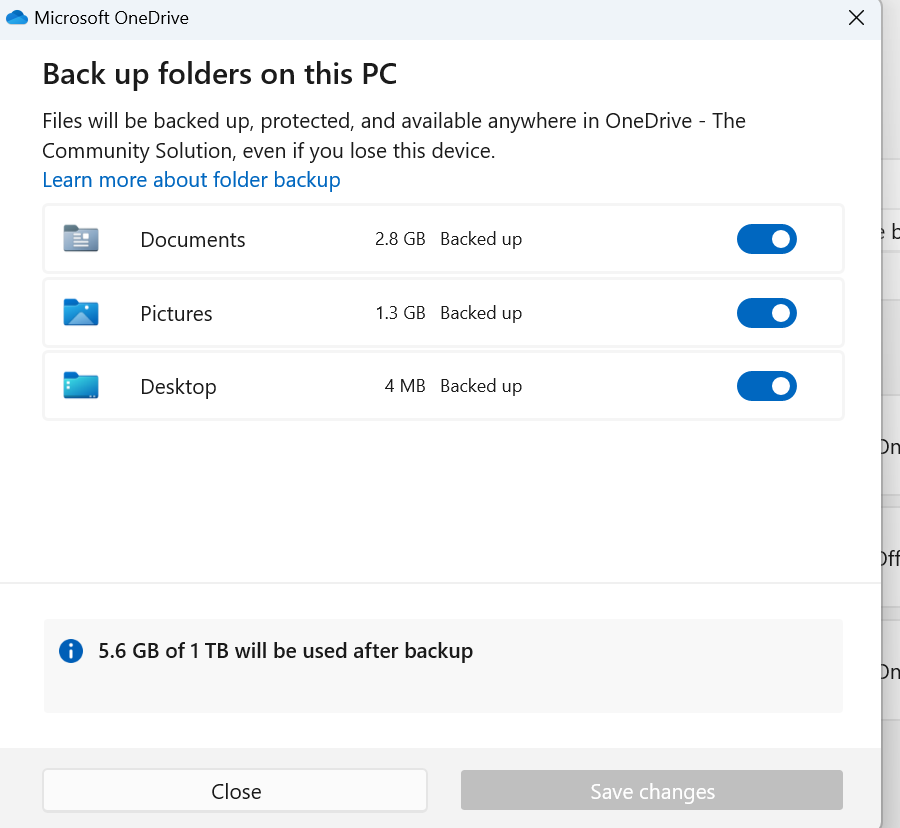
If you enable folder backup the folders you choose will be moved to OneDrive, for example the documents folder would be moved from C:\Users\Name\Documents to C:\Users\Name\OneDrive\Documents. Once enabled any changes you make to the backup folder will be automatically synchronized to OneDrive.
If you prefer more control, you can disable backup, your default folders will remain in their original location, and you can sync files and folders by putting them in your OneDrive folder. This will also use less OneDrive storage space, as you won’t be syncing every file in your Documents and other folders.
Choose Where to Save Office Documents
By default, OneDrive wants to save the Office documents you create in the cloud, but you can turn that feature off to ensure that all of your documents are saved locally.
- Open any Office app, Word, Excel or PowerPoint.
- Click the File menu and then select Options.
- Click the Save tab and select “Save to Computer by default,”
- Then choose the “Default local file location” and click OK.
Note The Office “AutoSave” feature only works when saving files to OneDrive or SharePoint. When you choose the local storage option that option is disabled, however you can still use the Auto Recover feature, it will automatically save backup copies of your documents so you can recover them if needed. To ensure it’s activated, click the File menu > Options > Save and make sure the “Save AutoRecover information” option is checked and choose a frequency as to how often it saves.
Scan and Share Documents
OneDrive makes it easy to scan documents using your phone. The scan will be saved to your OneDrive account, you can scan anything, including legal documents, business cards, ID cards, Insurance cards, photos and anything else you want to save.
- Open the OneDrive app on your phone.
- Tap the Camera Icon.
- Swipe right to select either Whiteboard, Document, Business Card, or Photo depending on the type of document you are scanning.
- Tap the circle icon to start the scan. Once scanned, options will appear to crop, rotate, add text, or highlight sections.
- View the document and click confirm to accept the scan or click cancel to rescan. Add more pages by tapping the Add button. Once you have added all of your pages, tap Done.
- Enter a file name, then tap Save. The file will be saved to OneDrive, from there you can share the document with others.
Uninstalling OneDrive
If you don’t want to use OneDrive you can uninstall it. If you have been using OneDrive Backup be sure that you have saved all of your files locally before uninstalling,
Even if you don’t use the OneDrive app you can still use it online to save and share files.
- Click Start > Settings > Apps > Installed Apps.
- Find Microsoft OneDrive in the list.
- Click the More Options Menu and click Uninstall.
Or
- Type Control Panel in the search box.
- Select Control Panel in the search results menu.
- Click Programs > Programs & Features.
- Select Microsoft OneDrive and click Uninstall.
