
It seems like everything we buy in a bottle or jug comes with a child proof cap. If you live in a home without children, you can adjust the caps on most bottles to make them easier to open.
Push Down & Turn Caps
Most push down and turn caps are a cap within a cap, meaning that the outer childproof part of the cap is just a cover for a basic twist cap underneath. To remove the top cap, while the cap is on the bottle push up from the bottom edge of the top cap, one it starts to lift make your way around the cap and continue to push up until the top cap breaks free. You can also use a flat head screwdriver or other tool to pry the cap off.
Another option is to use a flat-topped thumb tack. Use a hammer to tap the thumb tack into the top of the cap near the outer edge. This will lock the two caps together so that the cap can be easily removed. The thumb tack method works best for bottles that don’t contain liquid.
Squeeze & Turn Caps
Squeeze and turn caps lock in place because there are little tabs or knobs on the cap or bottle. Use a large set of nail clippers to cut the tabs off.
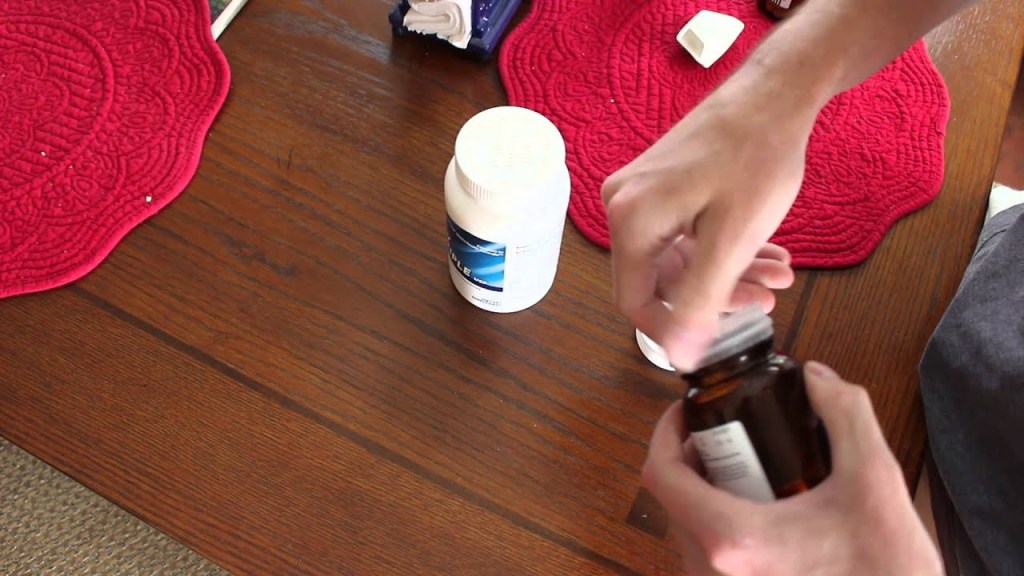
Push Down Tab and Turn Type Prescription Bottles
Most child proof prescription bottle caps are designed to work two ways, one using the child proof cap and the other using a normal twist cap. To switch between the two just flip the cap over. The childproof cap typically screws on to the outside of the bottle and the normal cap screws into the inside of the bottle. If the cap is not designed to use either way, you can use nail clippers to cut the tabs off. You can also ask the pharmacy for easy open caps when getting your prescriptions filled.
Line the Arrows Up Caps
These caps require you to line up two arrows and then press to remove the cap.
Use a large set of nail clippers or a hobby knife to cut off the tabs off. This type of cap can be harder to work with, it may take some time to remove the tabs.
You can save the modified caps to use on other bottles that are the same size in the future.
